|
I first started
working on my Pyramid Head costume back in 2005.
I began by getting my hands on the texture files of Pyramid
Head. I used those to make a cardboard prototype of his helmet.
After some trial and error I got the shape of it relatively
accurate to the helmets shape in the game.
Once the main shape
of the helmet was complete, I cut the helmet up the back and
unfolded it so it would lay flat on the floor. After this I
purchased several sheets of plexiglass and layed them over top
of the helmet template. I drew lines onto the plexiglass as
guides for cutting the plexiglass into shape. Glue and tape
was used inside to hold the pieces together.
I then used cardboard to make a template for the brim of the
helmet. I then used that as a template for cutting the proper
shape out of plexiglass and heated it to bend it to shape. I
attached it to the main section of the helmet using tape.
I used wood trim for the edge details of the helmet, which also
added more supporting structure to the helmet itself.
Returning to the
brim of the helmet, I added strips of cardboard on top of the
plexiglass, taped together in bundles to add thickness. On top
of this I added the final layer, thin styrene plastic. I added
this to the sides as well.
The robe of my costume was originally made from muslin fabric.
I had a pattern for a jacket laying around and used that to
make the robe. I just left off the arms and made the jacket
even longer. It was then painted rather quickly with spray paint.
For the boots of the costume I just wore some old black rubber
boots that used to belong to my grandfather.
Room for improvement:
Eventually I decided to improve my costume in 2008. One of the
things that bothered me a lot about the first try was the back
of the helmet was far too long and screwed up the look of the
whole thing. The thought of properly fixing this part of the
helmet made me nervous. I would have to cut the entire back
of the helmet completely off. Finally I took the plunge and
did it. I had to rebuild the entire back but it was totally
worth it. I also added a camera to the tip of the helmet to
allow me to see at least some of the outside world. While it
worked well enough it still left a lot to be desired, especially
in low light conditions.
Another thing I wanted to improve upon was the paint job of
the helmet. The first paint job was a rush one and no detail
was added. This time I went crazy on the details. I used the
texture file from the game helmet once again. This time I measured
my helmets dimensions out and then blew up each section of the
helmets texture file to the proper dimensions using photoshop.
I placed transfer paper between the helmet and the blown up
texture file print out. Taping them in place I drew over each
and every detail I possibly could on the texture print out to
transfer the image to the helmet. The details did not come out
crystal clear as the transferred image didn't take well to drawing
out on the already painted surface of the helmet. It came out
well enough to be a decent guide for me to follow when I would
take the next step of painting the helmet details.
I worked hard to give the helmet several different layers consisting
of red, copper, silver and black, using reference screencaps
of the game and of the full motion video. You can never have
enough reference. The end result allowed the details of the
helmet to pop out. I added some dust to the helmet and clear
coated over it to give the helmet a rusty texture. One "fun"
thing to note is that I had to paint the right side of the helmet
twice. Never ever leave a can of clear coat and a can of black
spray paint sitting too close together. Lesson learned there.
I managed to save the right side of the helmet by placing a
bright light inside the helmet. This allowed the details beneath
the layer of black spray paint to pop through again. With the
light guiding my way, I then redrew the texture of the helmet
hidden beneath the paint and repainted the entire side again.
The robe this time
around was made out of a cotton spandex material. It started
out much like my original robe, in fact the original robe was
used as a pattern for the basic shape of it. I sewed the seam
up the back of the robe together but needed help with sewing
the front together. Pyramid Heads robe fits nice and tight to
his upper body and his butt, but to accomplish this myself I
would have needed to sew the front of the costume closed on
a dress form. I do not own one and did not have the time to
make a duct tape dress form. My wife Alessa assisted me by sewing
the front seam of the robe shut while I was wearing it. It took
a long time and a few pricks of her fingers but it came out
well. Alessa also helped pin the bottom of the robe shut so
I could sew it shut at the proper height and allow it to sit
just above the boots. She did a great job and I'm very thankful
for her help. I later added the leather traps that hang from
the back of the his robe, and the zipper running up the upper
back as well.
I made the gloves myself using the same fabric I use for the
robe. Using acrylic paint and spray paint for some splatter
effect, I painted the robe based on the game texture file and
reference shots from in game and full motion video.
For Pyramid Heads boots I ordered some costume boots online
and painted a white line around the top of the sole of the boot.
If you look closely at him in the game you can see this detail.
I'd like to eventually add zippers on the outside of the boots
which would make them more accurate. At this time the boots
have a zipper on the inner calf area.
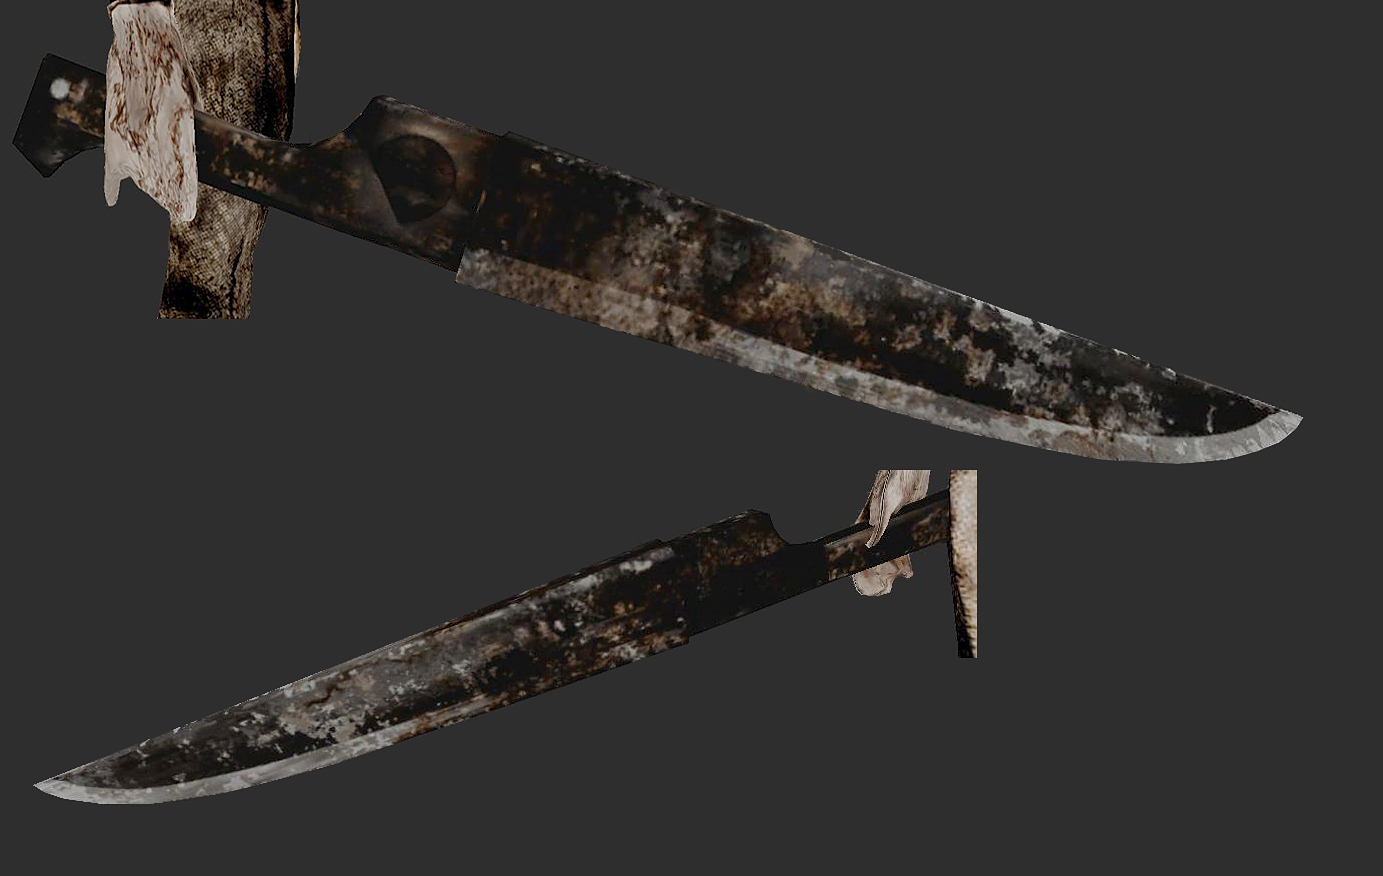
The Great Knife is made from one long piece of pine wood for
the handle and core support and skinned over with light weight
wood to give it its angular blade. I also studied the texture
files of the Great Knife from the game and painted it as close
as I could to match the file.
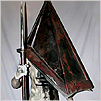
For the spear Pyramid
Head uses, I'll admit I made it in a rush the night before Animazement
2008 at 3am and I made it in about 1 hour. It's made from some
pvc pipe I had laying around from another project, some foamies
for detailing at the base of the spear tip, and aluminum tape
over an orientation folder I had from a job years ago. It turned
out rather well for something done so rushed and for so cheap.
I do plan on making a better one now though as the top section
is ready for the trash now.
|

